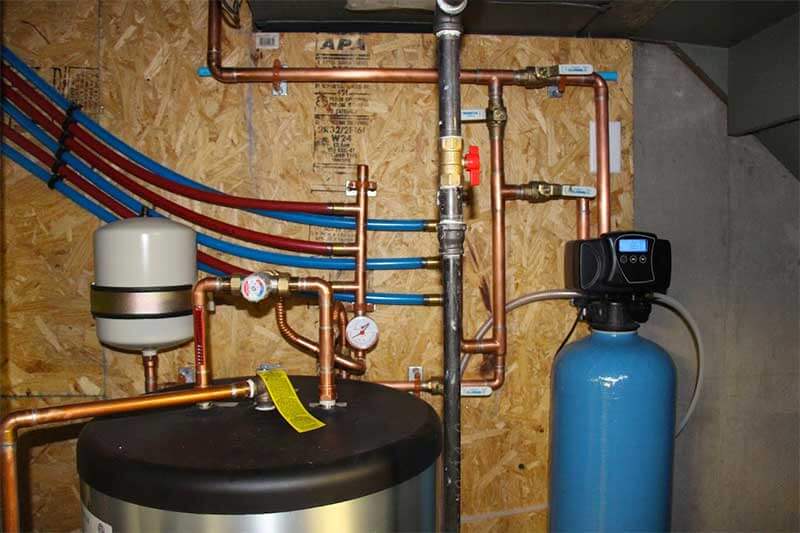
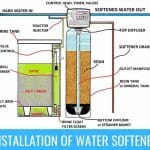
It’s far easier to replace a water softener than to install it because the plumbing and wiring are already done. Almost every water softener is replaced and installed in the same way except its draining. You have to pay extra attention to draining the old water softener so that the water may not spill everywhere during the exchange.
The need for replacement arises when you start noticing indicators such as growing scales, difficult laundry, and a change in water taste. All these signs indicate that you have to replace the water softener or check if anything is wrong with your water softener. In our guide, we will discuss some easy and quick steps that will help you to replace a water softener without any complications or difficulties.
Table of Contents
Step 1: Cut Off the Power
First, you have to cut off the power supply to the water softener. You can unplug the power supply to the existing water softener. Remember, it’s a critical step that you should never ignore as it might put you at safety risk during the replacement.
Step 2: Turn Off the Valve
In the second step, you have to turn off the valve to cut off the main water supply. It’s usually located on the main water pipeline of the house. It’s very important to cut off the water supply during the replacement; otherwise, it may spill out.
Step 3: Look For the Bypass Valve
A bypass valve is usually located at the back of water softening unit. Close all the stems in the bypass valve and keep the valve open.
Step 4: Remove any Salt or Potassium Residue
Even if the water softener system stops working, there might be some salt or potassium in the brine tank. You have to simply open the tank and carefully remove any pallets.
Step 5: Remove the Clips
In this step, you have to carefully remove any holding clips in your water softener’s inlet and an outlet section. It will separate the water softener from the clipper pipes but make sure that there is no water in the brine valve.
Step 6: Move and Drain the Old Water Softener
Once you have successfully removed the clippings, take the water softener to the drain to completely drain the water out of it. Once all the water is successfully drained, you can discard the water softener.
Step 7: Replace the New Water Softener
Simply replace the new water softener by reconnecting the inlet and outlet clips. Don’t forget to check whether the water supply is going into the inlet and outlet without any leakage or any other issue.
Step 8: Turn On the Power Supply
Plugin the power supply after reconnecting the water softener. Also, open the main house water supply back. You’re done.
Check Out: Water Softener Maintenance & Cleanliness
Frequently Asked Questions (FAQs)
1. Can I replace my water softener myself?
2. How often do water softeners need to be replaced?
3. How much does it cost to replace resin in a water softener?
4. Is it difficult to install a water softener?
Conclusion
We hope you have now all the information about how and when to replace the water softener. You should carefully follow our guide as mentioned above and don’t skip any single step to avoid any problems during the replacement process or anywhere in the future.

Steve Smith is a United State Licensed Plumber with over 18 years of plumbing experience. Steve has conducted residential and commercial plumbing jobs throughout the state and currently works for one of California’s largest plumbing companies. When he’s not working, Steve enjoys spending time with his daughter and son.


Leave a Reply